Things to do after installing Ubuntu Mate
Despite the title, this post is not intended as a generic guide like this one for the official Ubuntu GNOME. It is more of personal notes from my tweaks to become as productive on Ubuntu MATE as compared with macOS on the same MacBook Air. Therefore it is strongly opinionated from someone who has been using macOS on MacBook for a long time. Nevertheless, if you’re interested in using Ubuntu MATE on MacBook or laptop in general, this post may give you some head start.
How to install Ubuntu MATE on MacBook (Air) is out of this post scope. You may look up tutorials or YouTube videos specialized on this aspect.
Here’s what you need to do, after install it successfully and on the first start up:
#1 Choose panel layout permalink
Ubuntu MATE uses the MATE Desktop Environment and it has system of panels affixed to the sides of the screen. These panels are so flexible that with them, MATE desktop can mimic any popular desktop layouts, including the traditional GTK2 layout, or Windows, or current Ubuntu GNOME or even Mac OSX…
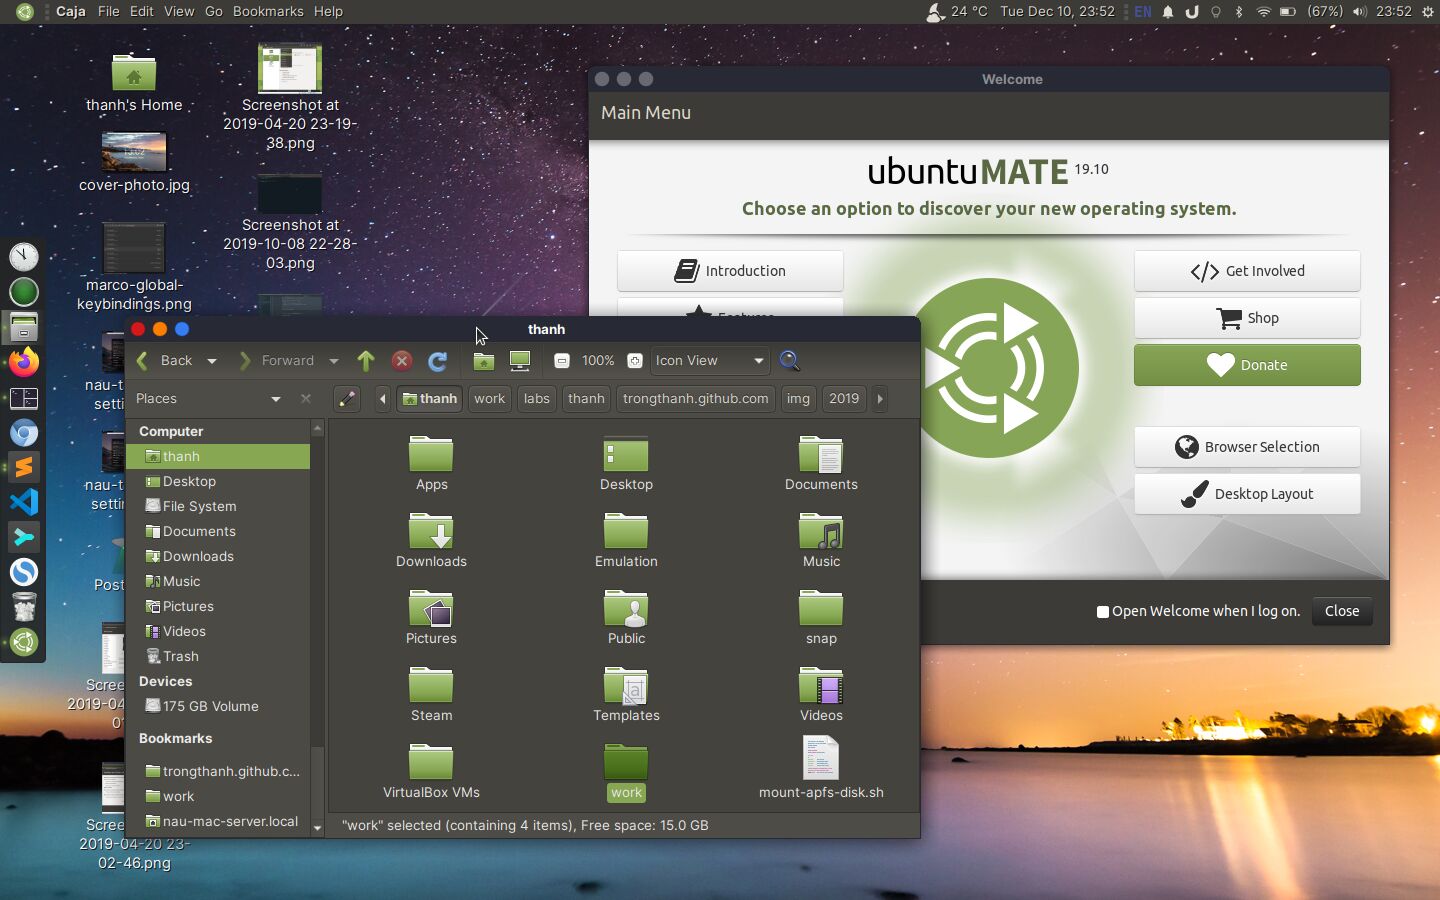
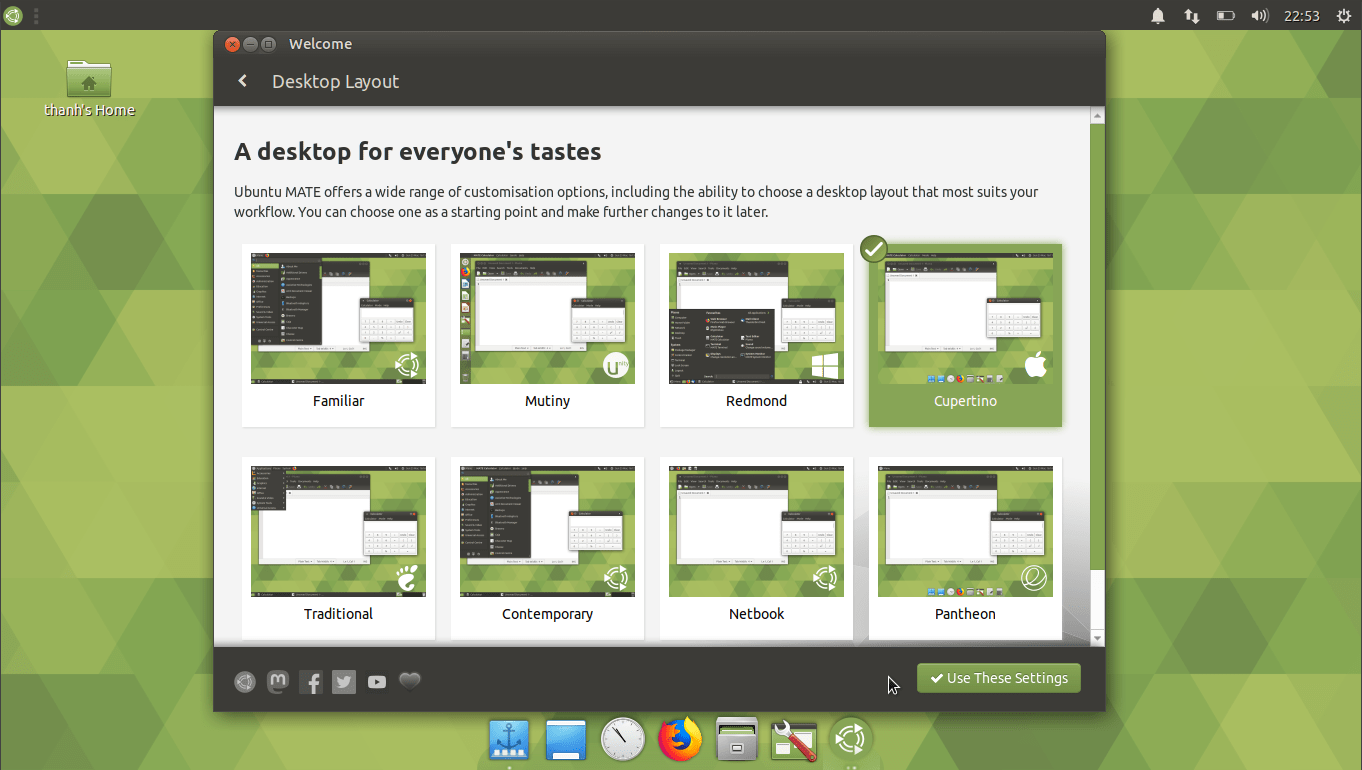
However, tweaking the panels is tedious, so starting from Ubuntu Mate 19.10, you’ll have the Desktop Layout option on the Welcome screen where you can choose the preset of the panels that will resemble any popular desktops:
If you miss this screen, you can still search and re-open Welcome app from the applications menu.
Another way to choose panel layout is via MATE Tweak (installed by default): With MATE Tweak opened, switch to Panel settings group. At the Panels layout dropdown, select your preferred preset. Here, you have the option to save your panels’ preferences as a custom preset for your convenience.
Since I’m used to OSX metaphor, my choice was Cupertino and some of below tweaks depends on this.
#2 Install TLP power saving daemon permalink
You only need this step if you’re on laptop. Here’s the claim by the author: “TLP saves laptop battery power on Linux without the need to understand every technical detail.”
For most laptop devices and MacBooks, all you have to to do is install these packages:
sudo apt install tlp tlp-rdw
And from now on, just leave it to the daemon to do its job. For more more info and configuration, visit TLP documentation page over here.
#3 Install dconf editor permalink
dconf Editor, if you don’t know it yet, is a very handy tool to configure some of very hidden settings of Linux desktop. It is also a required tool for some of the steps below. If you can’t find it in the Applications menu > System Tool, install it now:
sudo apt install dconf-editor#4 Hide the plank icon on dock permalink
The Cupertino (macOS style) layout use Plank dock. By default it has the plank icon always appear on the dock (clicking it will open Plank preferences) which looks redundant for me.
So to hide it, open dconf Editor, click on the 🔍 (search) icon, search for plank, then select the path /net/launchpad/plank, then dock > dock1 (Since there is only one dock on the screen).
Scroll down and look for show-dock-item, turn it to false.
#5 Change Brisk menu hotkey permalink
The applications menu (open when clicking top left Ubuntu MATE icon) is called Brisk menu. Depends on which panel layout you choose, it will be a conventional dropdown list menu or the full screen icons grid like ones found in modern desktops. But they use the same hot key to trigger, and by default it is Super_L (the left Command / Window key). However, I’m used to binding Super key with many shortcuts, so my preference is to change it to something else.
Open dconf Editor, search for brisk-menu, and navigate to /com/solus-project/brisk-menu/hot-key, disable Use default value and then set your own shortcut. Here are some of my suggestions:
LaunchB- Launch the menu like on macOS; it is the media key atF4key on MacBook keyboard. (This is my choice)<Mod4>space- Launch the menu with Super+space<Mod4>a- Similar to GNOME Shell’s activity and app launcher
#6 Reduce indicator applet spacing permalink
Ubuntu MATE’s systray icons notoriously have very large spacing. To fix this, we will add some custom gtk-3 CSS overrides. Open this file or create it if it doesn’t exist: ~/.config/gtk-3.0/gtk.css. Add below CSS to the file and you may adjust it depending on your panel’s height and theme:
/* this apply to all panel menu items */
.mate-panel-menu-bar menuitem {
  padding: 2px 2px; /* vertical then horizontal padding */
}

/* this increase horizontal spacing a bit for global menu items*/
.-vala-panel-appmenu-private > menuitem {
  padding: 2px 4px;
}
#7 Install new theme permalink
Ubuntu MATE comes with a few default themes which you can pick from the app named Appearance. To me, only the default Ambiant-MATE theme looks decent, while other looks dated. Fortunately, there are some good-looking themes that are still compatible with MATE desktop and can be easily installed from default Ubuntu apt-get repo:
- Adapta (
adapta-gtk-theme) - Arc (
arc-theme) - Numix (
numix-gtk-theme) - Flat-remix (installation instructions)
Besides, many GTK theme here compatible with Ubuntu Mate: omgubuntu.co.uk/2017/11/best-gtk-themes-for-ubuntu
Icons also have big impact on look & feel of the desktop. However I’ve tried many icon themes and because of compatibility, many of theme make the systray icons look terrible. These are a few of them that look decent on MATE:
- Papirus (
papirus-icon-theme) - Numix / Numix Circle (
numix-icon-theme) - Faenza (from
faenza-icon-theme) - Faenza MATE Icon (
mate-icon-theme-faenza) - Flat Remix icons (installation instructions)
#8 Switch to use dark cursors permalink
Here’s another personal preference, but I’d prefer dark cursors to light ones. From Appearance app, you can choose the default MATE Black at the Pointer chooser. Or, you can install Yaru cursors theme via yaru-theme-icon apt package.
To set the cursor theme even before user log in, you can run below command, and then choose the preferred one:
sudo update-alternatives --config x-cursor-theme
#9 Install Ulauncher permalink
I’m a big fan of Spotlight, and more recently, the Alfred app on macOS. More or less, both of them let me search and launch apps quickly without having to browse through the list of icons in launcher menu. They also let me search and open files quickly, and provide some handy actions like calculate arithmetic expression, look up dictionary and even search from the web.
When moving to Linux, fortunately, I’ve found Ulauncher which does very similarly to Alfred. To install, you can follow instructions at Ulauncher website. (there’s a custom ppa for Ubuntu users’ convenience.)
Ulauncher’s default shortcut is similar to macOS Spotlight’s, that is Super + Space. You can change it from the application’s setting.
#10 Install Ubuntu Software application permalink
Software Boutique is the default software center on Ubuntu MATE. However, it has very small selection of applications. To come back to the popular Ubuntu Software center which has more choices, including many updated Snap apps, install following package via terminal:
sudo apt install ubuntu-software#11 Remember opening applications when log out / shutdown permalink
When switching from macOS to Ubuntu MATE on this same MacBook Air, I noticed that the suspend mode on Linux keep consuming power much more than that on macOS. That means when I closed the laptop to put away or to carry to somewhere, the battery kept draining, and I ended up having to charge it constantly.
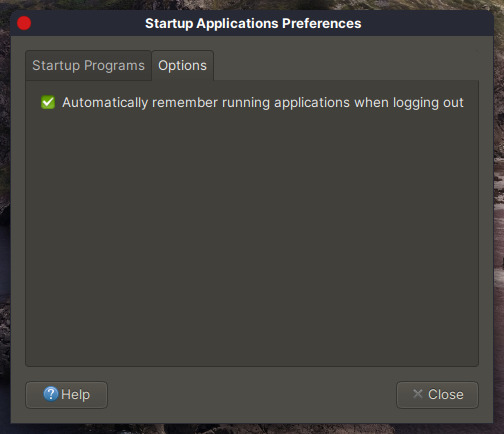
As long time macOS user, I find this is the most annoying thing about Linux on laptop. To work around, I shutdown the laptop whenever I leave it overnight or for a long time. Fortunately, Ubuntu MATE is already light-weigh and boots up very fast on SSD. To ease the pain of recovering the opening windows from last session, you can turn on Automatically remember running applications when logging out option in Startup Application window:
#12 Fix keyboard back lights keep turn up to 100% after restart / re-login permalink
If your laptop has backlight for keyboard, then you’ll notice an annoying issue with the power management control which will set the keyboard backlight to maximum whenever you re-login or change from battery to AC power. On this community thread regarding the issue, some suggested to edit the Upower.conf but this will also disable the ability to adjust backlight brightness level with media keys.
Adapting from this post, below are the config I’m currently use as work-around. It will reset backlight to a very dim level which is visible in the dark instead of turn it off completely.
# run with terminal
gsettings set org.mate.power-manager kbd-backlight-battery-reduce on
gsettings set org.mate.power-manager kbd-brightness-dim-by-on-battery 75
gsettings set org.mate.power-manager kbd-brightness-on-ac 10
Instead of running above commands, you can edit these config with dconf Editor at /org/mate/power-manager
MacBook tweaks permalink
Below are some additional tweaks specialized for MacBook. These tweaks may be too opinionated and less demanding so I just keep them brief (and because at this point I’m so exhausted writing this long post):
#13 Correct monitor color with custom ICC profile permalink
My MacBook monitor looks a bit bluish when booting to Linux. This can be fixed by apply correct ICC color profile. Unfortunately, these is no ICC profile chooser on Ubuntu MATE (Ubuntu GNOME does have one). To apply custom ICC color profile on Ubuntu MATE, I need to install a tool named xcalib.
- Extract the *.icc file when logged into macOS or search and download a file called
CustomMacRumors.icc. - Add a new entry in Startup Application with following command:
/usr/bin/xcalib -d :0 /path/to/CustomMacRumors.icc - If there is error related to ramp size, check out this SO question.
#14 Swap Fn and Control keys and/or Option and Command keys permalink
Install a kernel module named hid-apple-patched. Visit this Github repo to learn more..
#15 Install multi touch touchpad driver and config permalink
If you want to make the best of your MacBook touch pad, especially wanting native three-finger drag, visit this article of mine to learn more.
#16 Install fusehpfs to mount HPFS disk drive from macOS permalink
If you’re dual-booting Linux and macOS and wanting to mount macOS’ HPFS drive, head to this Github repo for instructions to install an APFS FUSE Driver for Linux. Do note that, with this fuse driver, you can only mount the HPFS drive as read-only for now.