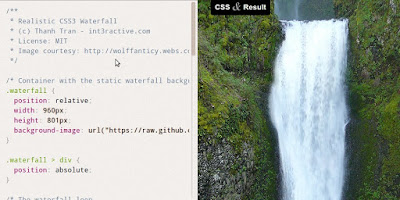
A recent project requires me to create a realistic running waterfall. For such task, what came first to my mind was to use animated GIF or PNG sprite sheet and loop them frame by frame. Then my friend, Justin, explored more with a semi-transparent water layer overlaying a static waterfall image using Photoshop & Flash. The result was really satisfying. So I decide to adopt it into our project which is pure HTML. Thanks to CSS' background repeat and the new CSS3's animation, the task was really simple to achieve and straight forward.
It is worth noting that CSS3's animation is still an experiment feature. You can still achieve same result using JS to shift the background at intervals.
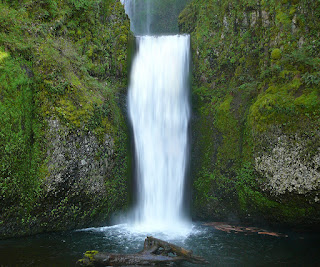
Let me explain step by step to re-create the effect:
2. Use magic wand / color range selection / lasso tool... to select waterfall area
3. Use feather / quick mask to soften the edges
4. Invert selection > copy selection to new layer > receive draft "mask" for waterfall (the waterfall area is see-through)
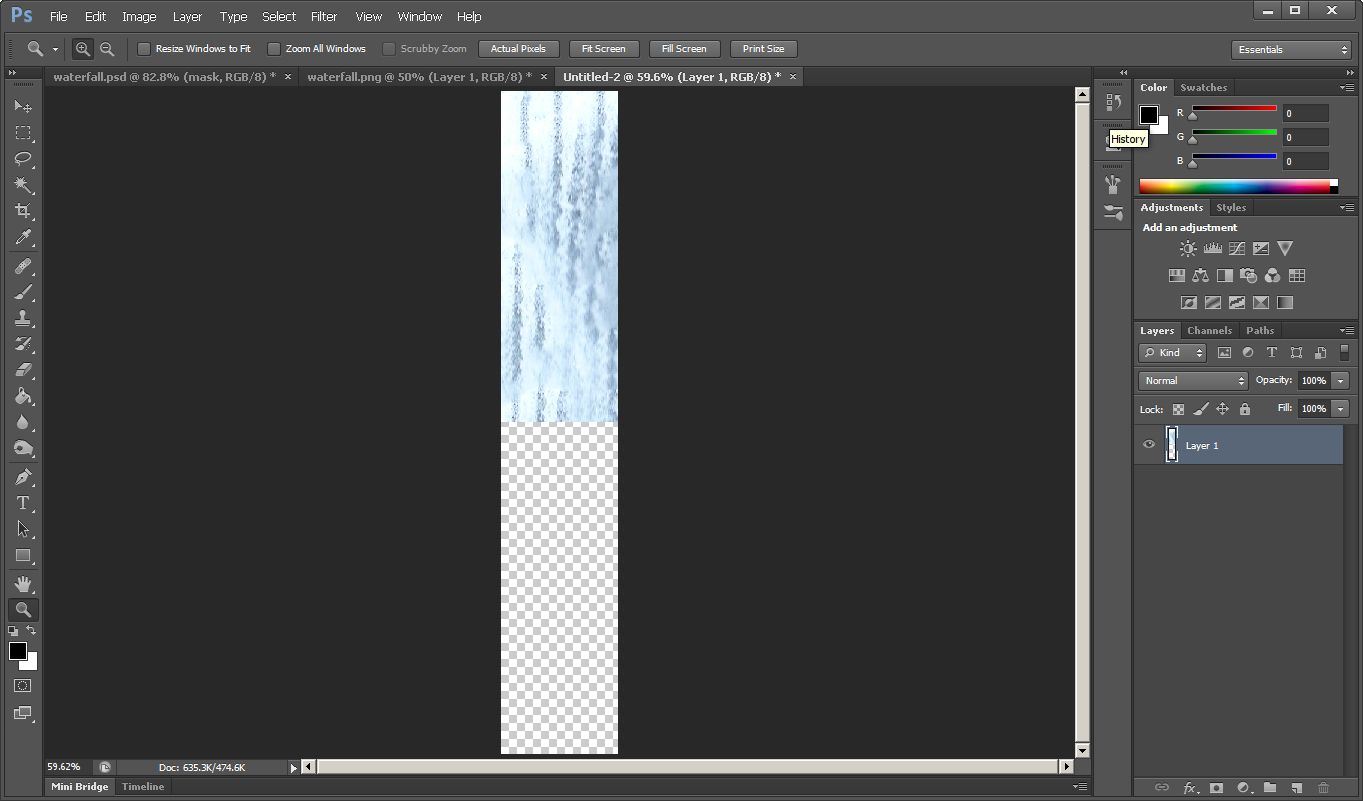
5. On the draft mask layer, make a rectangle selection around the "hole" we just "punched", make sure it fully cover the semi-transparent soft edges > invert selection > delete. This leaves a smaller rectangle mask around the white water area. Remember the rectangle's offset from the original waterfall image. You'll need it later. Duplicate the layer to new document > crop it > save it as waterfall-mask.png
6. Copy the water running part of the waterfall to new document.
7. Resize its canvas to fit the mask above.
8. If using Photoshop CS5+: select part of the water fall > select invert > fill > content aware If older Photoshop / other software: use clone tool manually fill the other area with waterfall pattern.
9. To make seamless loop, double canvas' height > duplicate the waterfall layer > flip it vertically and move it to the bottom half of the larger canvas.
10. Reduce opacity to 50% and save it as waterfall-loop.png
11. On the original waterfall, make selection of the waterfall area from the mask > use motion blur to make the water blurry vertically. > save this as waterfall.jpg
Thanks to CSS' background repeat, the loop is ridiculously simple to create, no need for complicate background looping technique.
This technique only work for waterfall photo which was captured from direct angle and the water flow running vertically. For other angles, it may be tricky. It can also be applied for river with water moving horizontally.