Common Linux / macOS terminal commands in my handbook
This will be a living reference blog post that I’ll keep updating.
When I started my software engineering career, I was fully immerged with GUI and mouse pointers by the OS and the tooling I used. With irritation at first, I had to self-taught my terminal skills because some of the tasks demanded. However, the more I advanced in my career, the more I see how powerful and convenient CLI (command line interface) can be. Through the years, I had to look up every command that is needed by my job, as a coder, writer, devops and even as casual user, and kept the command usage in a long note. I’m migrating and organizing them here for my own reference as well as may it be useful for other peeps.
Sure you can further look up command usage in cheat sheets or Google them up if you know what command to use, but for my younger self as CLI noob, I had no ideas what command to use as well as which tasks are possible on the terminal. Therefore, this mini cheat sheet is how I get on with the CLI bandwagon.
I’m composing below snippets and headings following devhints.io markdown structure with intention that this may be re-deployed in that format later.
Note: these commands of course use Bash or compatible shells (ZSH, fish), which is available as default in Linux and macOS.
Navigate file systems permalink
Display full path of current working directory: permalink
pwdList folder content: permalink
# list content of current folder
ls
# list content (even hidden files) of current folder
ls -a
# list content of current folder with extra metadata columns
ls -l
Note: The terms folder and directory are interchangeable.
Change directory (a.k.a cd): permalink
# go to a folder with absolute path (start with /)
cd /home/user/documents
# go to a child folder from current folder (./ optional)
cd work/projects/client
# go to parent folder
cd ..
# go to user's home folder (from anywhere)
cd ~
Display byte size of current directory and sub-directories permalink
# get size of current and its direct sub-directories
du -chd 1

# get size of a single directory
du -sh node_modules/-d: max depth (if omitted, display all sub-directories recursively)-h: use human-readable size-s: display only 1 entry for each specified directory
Find files via name: permalink
Find files with name in current directory and its children:
find . -type f -name "postgis-2.0.0”Type: f (file); d (directory)
Find all files in a folder with pattern and execute command on it
find . -name '*.js' -exec [command] '{}' \;Note: {} is the path to the file of each loop entry \; is the terminate character
Example:
find . -name '*.js' -exec jscodeshift -t migrate-to-modern-1.0.js '{}' \;Find and remove all node_modules folder recursively
# Dry run:
find . -name "node_modules" -type d -exec echo "{}" +
# Do it:
find . -name "node_modules" -type d -exec rm -rf '{}' +
Search for pattern in files with grep permalink
grep -rnw '/path/to/somewhere/' -e 'pattern'
-ror-Ris recursive,-nis line number, and-wstands for match the whole word.-l(lower-case L) can be added to just give the file name of matching files.
Along with these, --exclude, --include, --exclude-dir flags could be used for efficient searching:
# This will only search through those files which have .c or .h extensions:
grep --include=\*.{c,h} -rnw '/path/to/somewhere/' -e "pattern"

# This will exclude searching all the files ending with .o extension:
grep --exclude=*.o -rnw '/path/to/somewhere/' -e "pattern"

# For directories it's possible to exclude a particular directory(ies) through --exclude-dir parameter. For example, this will exclude the dirs dir1/, dir2/ and all of them matching *.dst/:
grep --exclude-dir={dir1,dir2,*.dst} -rnw '/path/to/somewhere/' -e "pattern"
Working with file owner and permission permalink
Changing file permissions
# Change permission of a file using octal number
chmod 600 key.pem
# (note: don't use same octal number on both files and directories)

# Add run (execute) permission to all users
chmod a+x key.pem

# Add write permission to user, remove read permission from group
chmod u+w,g-r key.pem

# Recursively set exact permission
chmod -R u=r project/
Changing file owner
# Change owner of files and directories recursively to user:group
chown -R thanh:admin /usr/local/
Note: add sudo if needed.
Viewing files content: permalink
# print content of a whole file
cat file.txt

# print only the last 20 lines of a text file
tail -n 20 errors.log
Make new files & directories: permalink
# Make an empty file
touch filename

# Make a directory
mkdir src

# Make a deeply nested directory and any directories between
mkdir -p project/private/devops/nginx
Copy and link files permalink
# copy a file
cp from/path to/path

# create symbolic link
ln -s source_file target_file
Move files and folders permalink
# Move and rename a file
mv from_file to_file
# Move multiple files to a target directory
mv file1 file2 file3 directory
Edit file content: permalink
# edit a file
vim README.md
# Easier editor on Linux
nano README.md

# set content of a file with echo
echo 'hello' > file
# append some text to an existing file (on new line)
echo 'world' >> file

# set file content using tee (where sudo is required)
echo "replication:" | sudo tee -a /etc/mongod.conf
# -a is for append
Replace text inline inside a text file: permalink
sed -i -e "s/old_text/new_text/g" hello.txt-ireplace inline-efollowed by an expressions/old_text/new_text/greplace string from -> to
Compress and uncompress permalink
Unzip (uncompress) .zip archives:
# unzip and extract to same folder
unzip file.zip
# unzip and extract to another folder
unzip file.zip -d another/folder
In Ubuntu, if
unzipcommand does not exist, install withsudo apt install unzip
Compress a whole folder with tar + gzip
tar -czvf dump.tar.gz dump/Mnemonic for the command flags -czvf (with some joking): Compress Ze Vucking File
Uncompress a tar.gz file:
tar -xzvf dump.tar.gz
tar -xzvf dump.tar.gz -C target/folder/
Mnemonic for the command flags -xzvf (with some joking): Extract Ze Vucking File
Remove files & directories permalink
# Remove a file
rm file.txt

# Remove a directory
rm -r directory

# Remove all html file in current folder
rm *.html-rrecursive (required for directory)-fforce remove (if files are read-only)
Get server / machine info permalink
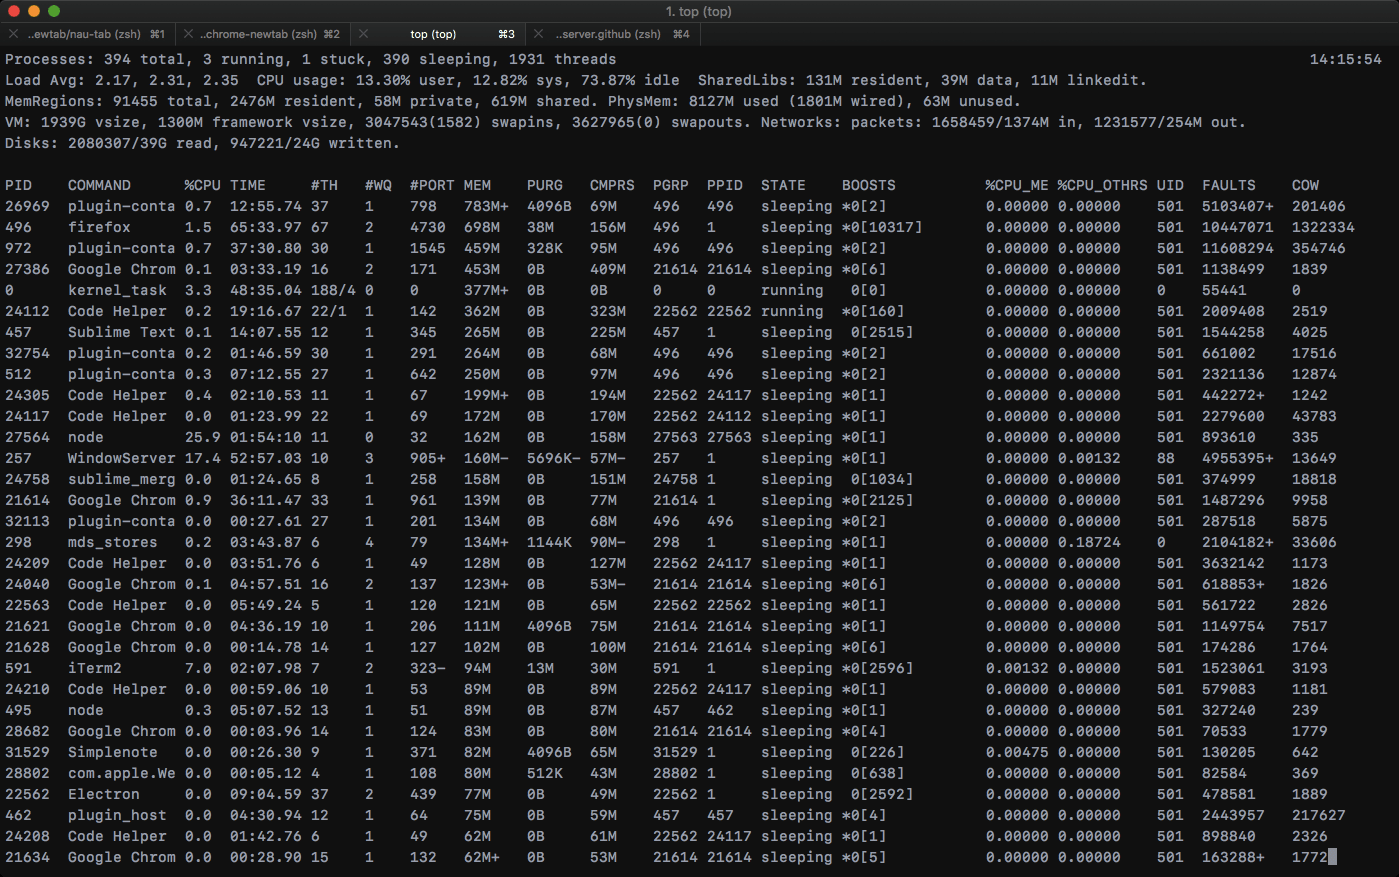
Monitor system resource and workload with top command: permalink
topTo sort and configure top command permalink
In Linux:
- Capital
Psort by CPU - Capital
Msort by Mem cto toggle full command patheto switch memory unitmto switch memory total display
In macOS:
- Type
o, then key incputo sort by CPU - Type
o, then key inmemto sort by Memory
Get CPU, memory info (Linux only) permalink
cat /proc/cpuinfo
lscpu

cat /proc/meminfo
List all disks on machine (Linux only) permalink
sudo lsblk -o NAME,FSTYPE,SIZE,MOUNTPOINT,LABELShows the amount of disk space used and available on current machine permalink
df

#With file system type (EXT4, XFS...)
df -Th
Working with remote servers permalink
Connect to remote server shell via SSH: permalink
# Connect via provided username and password
ssh username@hostdomain.com
# Connect via secret *.pem key
ssh username@hostdomain.com -i /path/to/key.pem
Note: key.pem must have permission octal less than or equal 600
Check which distro & distro version permalink
# try either
uname -r
lsb_release -a
For CentOS only:
rpm --query centos-releaseCopying from and to remote server with scp permalink
Copy the file “foobar.tgz” from the remote host to current dir in local host
scp remote-host:/home/user/foobar.tgz ./remote-host is a pre-configured host name in ~/.ssh/config
Copy the file “foobar.tgz” from the local host to a remote host
scp -i key_file.pem foobar.tgz remote-host:/some/remote/directoryCopy whole directory from the local host to a remote host
scp -r uploads/ remote-host:/some/remote/directoryResult will be new folder copied to /some/remote/directory/uploads at remote.
Git and file download permalink
Some Git tips permalink
# Check diff change list with a COMMIT hash
git diff COMMIT^!

# Check diff against last change
git log -p [--follow] [-1] <path>
# Use --follow if file renamed
More: git commands and aliases.
Download files with curl permalink
# Download and display file content on terminal
curl google.com
# Download a file and specify a new filename
curl http://example.com/file.zip -o new_file.zip
# Download multiple files (and save exact file names from remote)
curl -O URLOfFirstFile -O URLOfSecondFile
# Download a file and follow redirects
curl -L http://example.com/file
# Resume a previously failed download
curl -C - -o partial_file.zip http://example.com/file.zip
Download all URL listed in a text file (each link on a line) permalink
cat photos.txt | xargs -n 1 curl -LOMedia conversion and manipulation permalink
More often than not, you’ll have the need to convert or manipulate photos or even videos on the remote server or on your local machine where installing a full GUI software is restricted or too troublesome. Luckily, there are imagemagick and ffmpeg CLI tools that can help with most media manipulation needs.
Convert a PNG to ICO to make favicon.ico permalink
Need to install imagemagick first:
convert favicon.png -define icon:auto-resize=64,48,32,16 favicon.icoConvert a PDF to multiple jpg files permalink
Require imagemagick:
convert -density 300 -trim test.pdf -quality 100 test.jpgMerge multiple jpg files into one PDF document permalink
Need imagemagick as well.
# jpg files are named so that they appear in correct order
convert -density 150 *.jpg passport.pdf
Convert mp4 to webm with FFMPEG permalink
https://gist.github.com/clayton/6196167
Convert videos to animated gif with FFMPEG permalink
To make best looking as well as optimized animated gif, you need to run multiple commands, so save below script as gifmaker.sh
#!/bin/sh
# Usage: ./gifmaker.sh video.mkv anim.gif
palette="/tmp/palette.png"

filters="fps=15,scale=640:-1:flags=lanczos"

ffmpeg -v warning -i $1 -vf "$filters,palettegen" -y $palette
ffmpeg -v warning -i $1 -i $palette -lavfi "$filters [x]; [x][1:v] paletteuse" -y $2
Edit fps=15 for more or less frame rate; scale=640 for larger or smaller size based on max width. Add execution permission to gifmaker.sh.
The script is thanks to this article on blog.pkh.me.
Miscellaneous permalink
Generate SSH key permalink
ssh-keygen -t rsa -C "your_email@example.com"Tunnel MongoDB connection from remote to local permalink
ssh user@host -i private-key.pem -L 27018:localhost:27017(27018 is local, 27017 is remote server)
That’s it for now. To be updated…